Friday 24th February 2012 HD1 workshop with JS and SP
http://www.hasselblad.co.uk/
Items needed for today's workshop and assessment (which I passed).
- Hasselblad H1D Body and lens
- Imagebank x1
- Link Cable x1
- Firewire (FW) 400 Lead
- Handgrip (usually supplied with HD1 body)
- Quicl Release Plate
- Block (Wooden)
- Tripod bush
- Light meter
- Grey card
Set Up
- Turn Mac on
- Set up Folder Hierarchy (Must be on desktop)
- Attach Firewire cable from Mac to Imagebank
- Attach Link cable fom Imagebank to Sensor Socket on Camera
- Route cable over tripod
- Turn on camera
- Launch 'Phocus' (Always at the END, this is the last step ALWAYS)- Navigate to destination folder
If you have a red light on the imagebank this indicates a problem, seek help.
ALWAYS use a low voltage flash system such as Broncolor or Metz
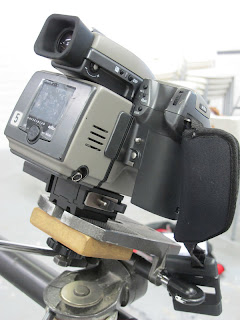 |
| The Hassleblad HD1 set up (note 'User' button set to focus lens via a custom setting). I found the autofucus cumbersome with the shallow depth of field we were using. |
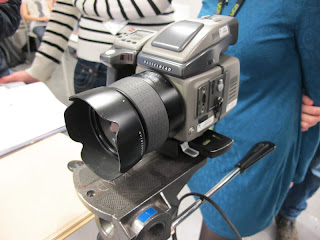 |
| Front of the system (flash sync on the LH side, conventional viewfinder set up, battery in the handgrip on the RH side, display panel on the RH side using a menu system and contol wheels to navigate the menus, with duel purpose command buttons) |
 |
| One of the 'Phocus' system screens |
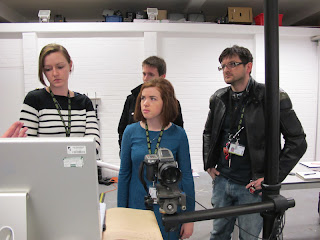 |
| If I look grumpy I had an epic back pain (which makes learning more difficult) and I suffered all day |
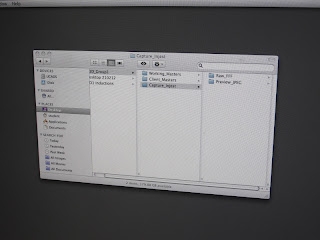 |
| Menu screen showing destination folders on the RH side |
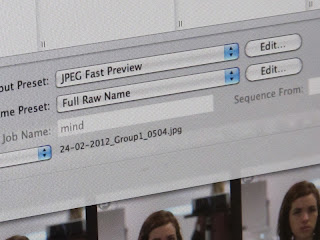 |
| The 'Fast JPEG file option selected here (rather than the RAW) |
|
|
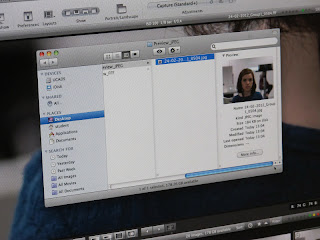 |
| Pop up screen displaying thumbnail |


No comments:
Post a Comment